Beginner's Guide to Starting a Beehive: Everything You Need to Know
Starting a beehive is one of those things that sounds intimidating until you actually do it. The equipment is straightforward, the bees are more forgiving than most people expect, and the learning curve - while real - is manageable for anyone willing to pay attention and move slowly around the hive. I have helped dozens of first-time beekeepers get set up over the years, and the ones who succeed all share one trait: they prepare properly before the bees arrive.
This guide covers everything you need to go from zero to your first functioning hive - equipment, bee sources, site selection, costs, and what to expect in year one.
Safety Note: Honeybee stings can cause severe allergic reactions (anaphylaxis) in some individuals. Before starting beekeeping, discuss your plans with your doctor, especially if you have a history of insect sting allergies. Always keep an epinephrine auto-injector on hand at the apiary. Inform your neighbors that you are keeping bees, and check your local municipal bylaws for setback and hive count regulations.
This post contains affiliate links. If you purchase through these links, we earn a small commission at no extra cost to you.
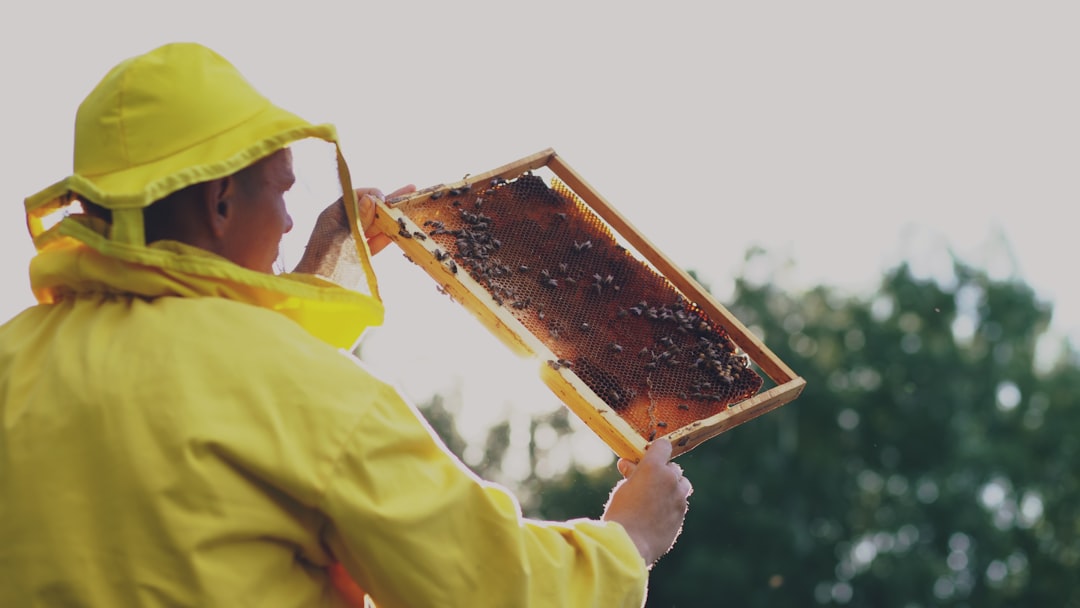
Photo by Vitaly Gariev on Unsplash
Choosing Your Hive Type
There are two main hive types beginners should consider. Each has genuine tradeoffs - there is no universally “best” hive.
Langstroth Hive
The Langstroth is the standard in North America and the hive type that 90% of beekeeping resources, equipment, and techniques are built around. It uses vertically stacked boxes with removable frames that maintain “bee space” - the precise gap that bees will leave open rather than filling with comb or propolis.
The advantages for beginners are enormous. Every piece of equipment, every YouTube tutorial, every local beekeeping club, and every mentor you find will be working with Langstroth hives. Parts are interchangeable, widely available, and competitively priced. When you need to combine colonies, split a hive, or swap frames between hives, the Langstroth system makes all of that straightforward.
The downsides: the boxes are heavy when full of honey (a full deep super weighs 60-80 pounds), and frame inspections require lifting and rearranging stacked boxes.
Top Bar Hive
Top bar hives are horizontal. Instead of stacked boxes, bees build comb downward from bars laid across the top of a long trough. There is no heavy lifting, and watching bees build natural comb is genuinely fascinating. Some beekeepers find top bar management more intuitive - you work one bar at a time rather than manipulating heavy boxes.
The downsides for beginners are practical. Most beekeeping instruction assumes Langstroth. Mentors at your local club will likely be unfamiliar with top bar management. Equipment is not standardized, so you cannot swap frames with other beekeepers or buy replacement parts off the shelf. Honey harvest yields are lower, and some cold-climate beekeepers find top bar hives harder to winterize effectively.
My Recommendation for Beginners
Start with a Langstroth. You can always add a top bar hive later once you have experience. Starting with a system that has maximum community support, standardized parts, and abundant instructional resources removes a significant source of confusion in your first year.
Essential Equipment
You need less than you think. Here is what is genuinely required versus what is nice to have.
Must-Have Equipment
Hive components (per hive): A bottom board (screened or solid), two deep brood boxes with 10 frames each, an inner cover, and a telescoping outer cover. This is your basic hive configuration. You will add honey supers later in the season once the colony builds up.
A complete Langstroth hive kit typically includes all of these components and runs between $150-250. Buying as a kit is almost always cheaper than purchasing individual components.
Protective gear: At minimum, a veil and gloves. A full bee suit gives you more confidence in the first year, and confidence matters - jerky, nervous movements at the hive are what get you stung, not the lack of a suit. The Humble Bee ventilated beekeeping suit is a popular choice that breathes well in summer while providing solid sting protection.
Smoker: Non-negotiable. Smoke calms bees by triggering a feeding response and masking alarm pheromones. Any standard beekeeping smoker works. Learn to light it properly and keep it going - a smoker that goes out mid-inspection is frustrating.
Hive tool: A flat metal pry bar designed for beekeeping. You will use it to separate frames, scrape propolis, and pry apart boxes that the bees have glued shut. Buy two. You will lose one in the grass.
Nice to Have (but Not Required Year One)
- Bee brush (for gently moving bees off frames)
- Frame grip (makes lifting individual frames easier)
- Queen excluder (prevents the queen from laying in honey supers)
- Honey supers and frames (you may not harvest honey in year one anyway)
- Uncapping knife and extractor (worry about this when you actually have honey to harvest)
Where to Get Bees
There are three main ways to stock your first hive. Availability depends on your location and timing.
Package Bees
A package is a screened box containing approximately 3 pounds of bees (roughly 10,000) plus a separately caged queen. You install the package into your prepared hive, release the queen after a few days, and the colony builds from there.
Packages are widely available from bee suppliers and ship in spring. They are the most common way for beginners to start. The downside is that a package colony starts from scratch - no drawn comb, no brood, no food stores. They need feeding and time to build up.
Nucleus Colonies (Nucs)
A nuc is a small functioning colony - typically 4-5 frames of drawn comb with brood in all stages, food stores, workers, and a mated laying queen. You transfer the frames directly into your hive equipment.
Nucs give you a significant head start over packages. The colony is already established and building. In cold climates where the growing season is short, that head start matters. Nucs are generally more expensive than packages ($200-350 vs $150-200) and sell out quickly. Order in winter for spring delivery.
Swarm Capture
Free bees. A swarm is a reproductive event where roughly half the colony leaves with the old queen to find a new home. Captured swarms are enthusiastic builders and generally gentle. The downside is unpredictability - you cannot plan when a swarm will be available, and the genetics are unknown.
Join your local beekeeping club’s swarm list so you get calls when someone reports a swarm. It is a great way to get free bees, but do not count on it as your primary source for year one.
My Recommendation
Order a nuc from a local supplier if one is available in your area. The established colony gives you a much better chance of building to full strength before winter, which is critical in northern climates with short seasons. If nucs are not available, a package installed by late April or early May works well in most areas.
Choosing a Location
Sun Exposure
Morning sun is ideal. An east or southeast-facing entrance encourages early foraging. Full sun all day is fine in northern climates. In hot southern regions, afternoon shade reduces heat stress.
Wind Protection
Critical in cold climates. A fence, tree line, building, or hedge on the north and west sides of the apiary blocks prevailing winter winds and reduces colony stress. Avoid hilltops and exposed ridgelines.
Accessibility
You will be at the hive every 7-10 days during the active season, carrying equipment and potentially heavy honey supers. Do not put hives somewhere you dread walking to. Level ground with vehicle access nearby makes everything easier.
Distance from Foot Traffic
Bees fly in a line from the entrance. If that flight path crosses a sidewalk, patio, or play area, you will have conflicts. Orient entrances toward a fence or hedge that forces bees to fly upward before crossing any human activity zones. Most municipal bylaws require hives to be a minimum distance from property lines - typically 10-25 feet depending on jurisdiction.
First-Year Timeline
Here is what your first year looks like in a cold to moderate climate. Dates shift based on your specific region.
Late Winter (February-March)
Order bees. Order equipment. Assemble everything so it is ready when bees arrive. If you are buying a kit, give yourself time to paint or coat the exterior boxes with latex paint or a wood preservative. Read at least one solid beekeeping book. Join your local beekeeping association.
Spring (April-May)
Install your bees. For a package, this means dumping them into the hive, hanging the queen cage, and letting them settle. For a nuc, transfer the frames into your hive body and add empty frames to fill the box.
Begin feeding 1:1 sugar syrup (equal parts sugar and water by weight) immediately. A new colony needs to draw wax comb on the empty frames, and wax production requires enormous energy. Feeding accelerates this process dramatically. Use a hive top feeder to feed without disturbing the colony.
Early Summer (June-July)
The colony should be building rapidly. Inspect every 7-10 days looking for eggs (confirms the queen is laying), healthy brood patterns, and adequate space. When the first brood box is 70-80% full, add the second deep box.
Watch for signs of swarming - queen cells on the bottom of frames, overcrowding, and backfilling of the brood nest with honey. Swarming is natural but costs you half your bees. Adding space and doing splits prevents most swarm impulses.
Late Summer (August-September)
In your first year, do not harvest honey unless the colony has surplus beyond what it needs for winter. A new colony needs to build stores, not share them with you. In cold climates, leave a minimum of 80-90 pounds of honey on the hive for winter.
Begin fall varroa treatment in August. Feed 2:1 heavy syrup if stores are insufficient.
Fall (October-November)
Reduce the entrance. Install a mouse guard. Apply hive wrapping and insulation if you are in a cold climate. Our cold-climate wintering guide covers the full winterization process in detail. Stop opening the hive once temperatures consistently drop below 10C (50F).
Winter (December-March)
Leave the bees alone. Monitor externally by listening and hefting. Provide emergency fondant if the hive feels light in late winter.
What You Will Spend
Here is a realistic first-year budget for one hive:
- Complete Langstroth hive kit: $150-250
- Bees (nuc or package): $150-350
- Protective suit and gloves: $60-120
- Smoker and hive tool: $30-50
- Hive top feeder: $20-30
- Sugar for syrup (first year): $30-50
- Varroa treatment: $20-40
- Hive wrap (cold climates): $30-60
Total first-year investment: $490-900
Year two is much cheaper since you already have the equipment. Ongoing costs are primarily sugar, varroa treatments, and replacement frames.
Common First-Year Mistakes
Opening the hive too often. Once a week is enough during the active season. Every inspection disrupts the colony. Have a plan before you open the hive - know what you are looking for and get in and out efficiently.
Not feeding new colonies. A package or nuc needs feeding until the first deep box is fully drawn and the second is underway. Bees cannot draw wax on good intentions alone.
Ignoring varroa mites. The number one killer of managed honeybee colonies in North America. Monitor mite levels monthly with an alcohol wash or sugar roll. Treat when mite counts exceed threshold. “Treatment-free” beekeeping is an advanced strategy, not a beginner approach.
Harvesting honey in year one. In most cold climates, a first-year colony will not produce surplus honey. The colony needs everything it makes to survive winter. Be patient. Year two is when honey becomes realistic.
Not joining a local club. A mentor who keeps bees in your specific climate and can look at your hive with you is worth more than any book, video, or article. Most clubs offer mentorship programs for new members.
Skimping on winter insulation. If you are in a cold climate, your hive needs proper wrapping and top insulation to survive. A $30 investment in insulation materials can save you $200+ in replacement bees next spring. Our hive insulation comparison breaks down the options and costs for every budget.
For a thorough introduction to honeybee biology and management, the Beekeeping 101 resources from the University of Guelph provide research-based beginner education from one of Canada’s leading apiculture programs.
FAQ
How many hives should I start with? Two. If one colony has problems - a queenless hive, failing brood, low population - you can borrow a frame of brood from the other to fix it. With one hive, you have no options when things go wrong. Two hives also lets you compare behavior, which accelerates learning.
Is beekeeping legal in my area? Most municipalities allow backyard beekeeping with restrictions on hive count and placement. Check your city or county bylaws. Some areas require registration with the provincial or state agriculture department.
How much time does beekeeping take? During the active season (April-October), expect 30-45 minutes per hive per week for inspections, plus a few hours for seasonal tasks like feeding, treating, and harvesting. Winter is nearly zero time - occasional external checks only.
Will my bees sting my neighbors? Bees forage up to 3 miles from the hive. Once airborne, they are not interested in your neighbor’s patio. Stinging incidents almost always happen within a few feet of the hive entrance. A fence or hedge that forces bees to fly upward when leaving the hive solves most neighbor concerns. Providing your neighbors with a jar of honey once a year solves the rest.
What breed of bee should I get? For cold climates, Italian bees are the most widely available and a solid all-around choice. Carniolan bees are excellent for northern regions - they overwinter well and build up quickly in spring. Buckfast bees are popular on the Canadian prairies for their cold hardiness and gentle temperament. Avoid Africanized genetics. Your local nuc supplier will typically sell stock that is proven in your region.
Related Reading
Preparing for your first winter? Read our cold-climate wintering guide for the full winterization process.
About the Author
MB Beekeeping covers cold-climate beekeeping with a focus on practical techniques for northern winters. Our guides draw on hands-on experience keeping bees through prairie winters - we write about what actually works when temperatures drop below -30.