When to Add a Honey Super to Your Hive
This post contains affiliate links. As an Amazon Associate, I earn from qualifying purchases at no extra cost to you.
Knowing when to add a honey super is one of the most important timing decisions you will make as a beekeeper. Add it too early and the bees may ignore it or struggle to maintain hive temperature. Add it too late and you risk losing honey production to congestion and swarming. In our experience managing multiple hives over several seasons, getting this timing right can mean the difference between a strong harvest and a missed opportunity.
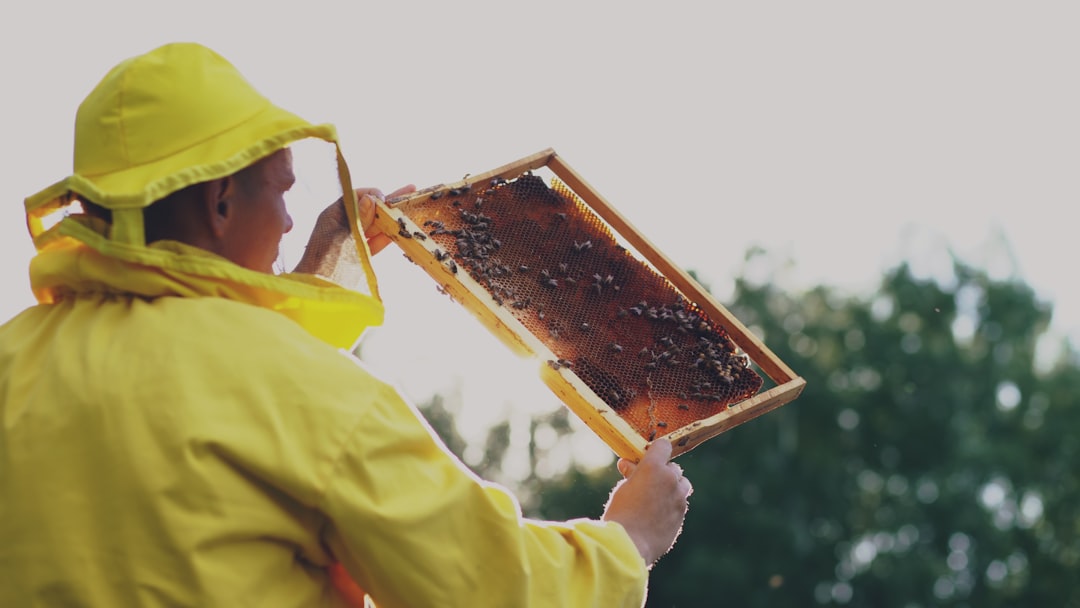
Photo by Vitaly Gariev on Unsplash
This guide walks you through the signs to watch for, the conditions that matter, and the practical steps for adding your first (or next) honey super at the right time.
What Is a Honey Super and Why Does Timing Matter?
A honey super is a box placed above the brood chamber where bees store surplus honey. The word “super” simply means “above” - it goes on top of the existing hive body. When nectar flow is strong and the colony has enough workers, bees will draw out comb in the super, fill it with nectar, and cap it once the moisture content drops below about 18%.
Timing matters because the colony needs to be strong enough to work the extra space, and there needs to be enough incoming nectar to justify the expansion. If the brood box is not yet full of bees, adding a super just gives them cold, empty space to heat. If you wait until every frame in the brood box is packed with honey, you have already lost production time and may have triggered swarming behavior.
Signs Your Hive Is Ready for a Super
The most reliable indicators come from what you observe during your regular inspections. Here is what to look for.
The 7-of-10 Frame Rule
When bees have drawn comb and are actively using at least 7 out of 10 frames in the top brood box, they are ready for more space. We have tested both the 7-frame and 8-frame thresholds and found that 7 frames gives the colony a head start on the super without waiting so long that they become congested.
Check for frames that have a combination of capped brood, open brood, pollen, and honey. Frames that are fully drawn but mostly empty do not count toward this threshold.
Bees Are Building White Wax
Fresh, bright white wax on the tops of frames or along the edges of drawn comb is a strong sign that the nectar flow is on and the colony is growing. This new wax production means the bees have surplus resources and are ready to build. When we see white wax appearing on multiple frames during an inspection, that is usually our cue to super up within the next few days.
Heavy Bee Traffic at the Entrance
A healthy hive during nectar flow will have steady streams of bees coming and going from the entrance. If you notice bees loaded with pollen coming in and a noticeably higher volume of flight activity compared to a few weeks ago, the flow has likely started in your area.
Nectar Flow Has Started in Your Region
Local nectar flow timing varies widely depending on your climate and the plants in your area. In most of the United States, the primary nectar flow begins between mid-April and early June. Check with your local beekeeping association or use resources from the USDA Bee Research Laboratory to learn what blooms drive the flow in your region.
We have found that tracking when dandelions, clover, and local fruit trees bloom gives a reliable early warning that the main flow is about to start.
How to Add a Honey Super Step by Step
Once you have confirmed the colony is ready, adding the super is straightforward.
Choose Your Super Size
Honey supers come in three standard depths for Langstroth hives. A full-depth (deep) super holds the most honey but weighs around 80-90 pounds when full. A medium super holds less but is far more manageable at about 50-60 pounds. Shallow supers are lighter still at around 35-40 pounds.
We prefer medium supers for most situations. They are heavy enough to make a meaningful harvest but light enough to lift comfortably during extraction. If you are just getting started with beekeeping, mediums are a solid choice.
Install a Queen Excluder (Optional)
A queen excluder is a metal or plastic grid that allows worker bees to pass through but blocks the larger queen from entering the super. This keeps brood out of your honey frames. Some beekeepers skip the excluder because they find bees are slower to move up through it. In our hives, we generally use excluders because cleaning brood out of honey frames is not worth the small gain in bee traffic.
Place the excluder flat on top of the brood box before setting the super on top.
Place the Super and Close Up
Set the honey super on top of the excluder (or directly on the brood box if you are not using one). Make sure the frames are evenly spaced. If you are using new foundation, the bees will need to draw it out before storing honey, so give them time. If you have drawn comb from a previous season, the bees will get to work much faster.
Close the hive, replace the outer cover, and check back in about a week to see if the bees have moved up.
Common Mistakes When Adding Honey Supers
Adding Too Many Supers at Once
Adding two or three supers at the same time gives the bees more space than they can manage. The colony will focus on one box and may not touch the others. Add one super at a time and let them fill it to about 60-70% capacity before adding the next one.
Supering a Weak Colony
A colony that only covers 4 or 5 frames is not ready for a super. Adding space to a weak hive can make temperature regulation harder and may slow the colony’s development. Focus on building up the brood box first. If the colony is struggling, check for queen issues, disease, or pest pressure before expanding.
Waiting Too Long During a Strong Flow
During a strong nectar flow, a healthy colony can fill a medium super in as little as one to two weeks. If you wait until the super is 100% full and capped before adding the next one, the bees may run out of storage space and start backfilling the brood nest with honey. This can reduce the queen’s laying space and trigger swarming. Check supers weekly during peak flow and add the next box when the current one is about two-thirds full.
Recommended Products
Here are some products we have used and recommend for supering your hive.
Mann Lake Assembled 10-Frame Medium Super - Mann Lake makes reliable, well-cut woodenware. Their assembled commercial grade medium super comes ready to use with no tools required. A solid choice for beekeepers who want quality boxes at a reasonable price.
Mann Lake 10-Frame Medium Super Kit on Amazon - This fully assembled kit includes a medium super box with 10 durable frames and beeswax-coated plastic foundation. It is a convenient option if you want everything in one package and do not want to assemble frames separately.
Dadant Metal Bound Queen Excluder - Metal excluders last longer than plastic and give the bees a smoother surface to walk across. We have found that metal excluders cause less of a barrier effect compared to cheaper plastic versions.
VIVO Stainless Steel Bee Hive Smoker - You will need your smoker for every hive inspection, including when adding supers. This stainless steel smoker has a good-sized firebox and a heat shield to protect your hands. It has held up well through multiple seasons in our apiary.
Related Reading
If you are new to harvesting, check out our guide on how to harvest honey for the first time. Getting your supers on at the right time sets you up for a smoother extraction later in the season.
Have questions about supering your hive? Drop a comment below, or bookmark this guide and come back when your bees start building that fresh white wax.